- St. Olaf Libraries
- Research Guides
- St. Olaf Equipment Tutorials
- Rode VideoMic Camera-Mount Shotgun Microphone
St. Olaf Equipment Tutorials
Guides for the equipment available for checkout at St. Olaf College.
LibKey Nomad

Librarian

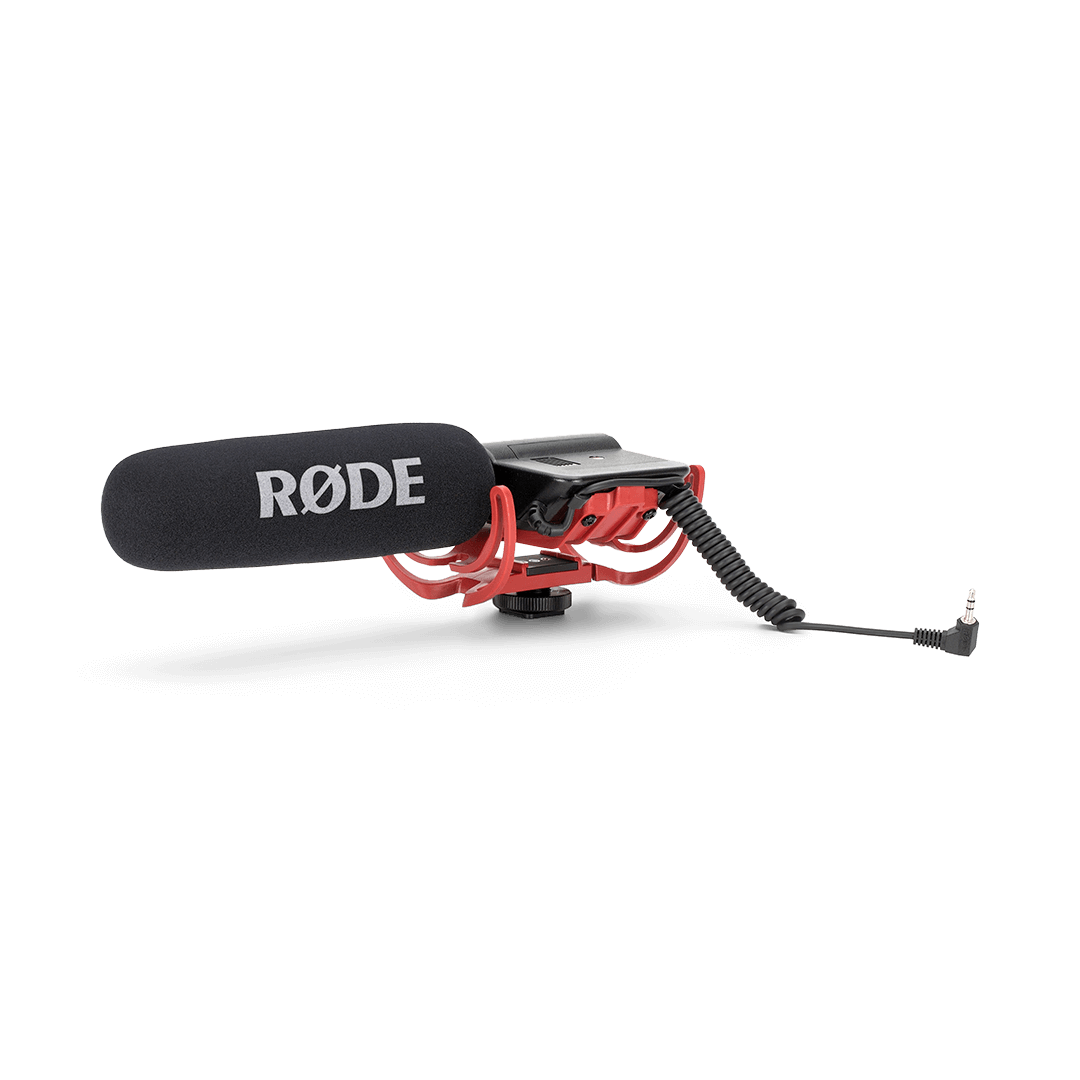
RODE VideoMic Camera-Mount Shotgun Microphone
Installing onto Camera:
- Make sure the battery is in the microphone or else it will not work!
- To install the battery, locate the battery cover on the top of the microphone. To remove it simply press down and out. Make sure you put in the battery currently based on the diagram engraved in the bottom surface.
- Turn the screw counterclockwise to loosen the screw and separate it from the camera shoe
- There should be a gap between the screw and the camera shoe (black square base)
- Slide camera shoe onto the camera mount (often located on top of the camera eye lens with silver metal) twist screw
Switch:
At the back end of the microphone there is a battery switch . . .
- (O) - means that the battery/power is OFF
- ( | ) - means that the mic is ON but on a flat setting
- Provides a basic microphone feature where everything is picked up
- Curved line - means that the mic is ON but is using High Pass Filter
- This stops the microphone from picking up low frequency sounds (ex. Camera movement or rumbling)
Compatible with any camera as long as it has an external microphone input with a 3.5mm TRS minijack. In addition, the camera should have a shoe mount.
Resources
Manual: https://edge.rode.com//pdf/products/637/videomic_product_manual.pdf
Product Website: https://rode.com/en-us/microphones/on-camera/videomic?srsltid=AfmBOoqaSjPzBU9eM-pRdTo-kNADE-RHXP8ddZxJpDctn0D9kQF4Uv23#section-compatible-accessories